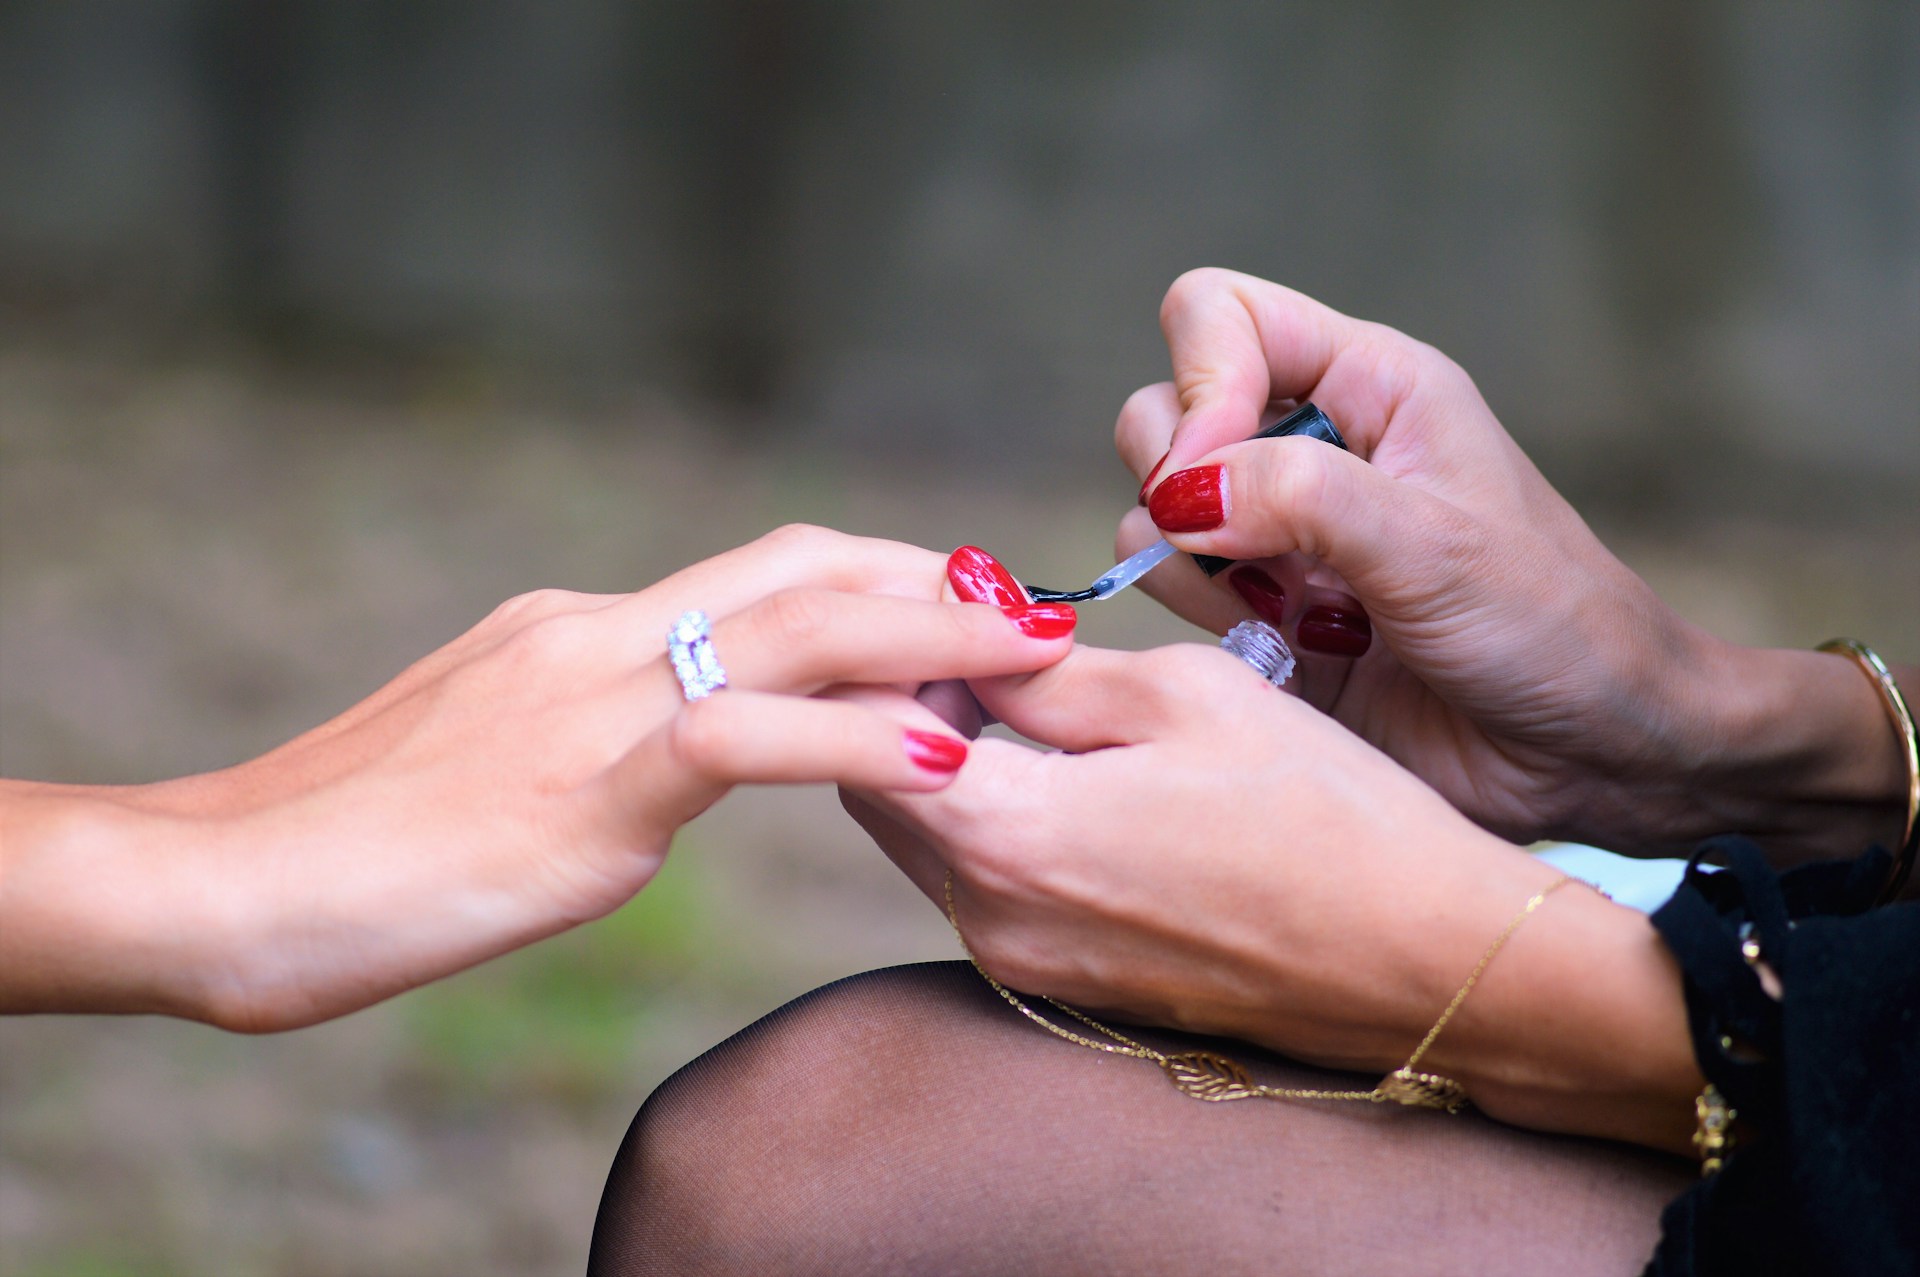
Immerse yourself in the world of dazzling shine with chrome nails! This captivating trend has taken the nail art scene by storm, captivating hearts with its futuristic, ultra-reflective finish. Whether you crave a touch of everyday glamour or a show-stopping statement for a special occasion, chrome nails offer a versatile and eye-catching option.
This comprehensive guide delves into everything you need to know about chrome nails. We’ll explore the science behind the shine, unveil different types of chrome finishes, and equip you with the tools and techniques to achieve a flawless chrome manicure at home.
Exposing the Chrome Illusion: Types of Chrome Nails
The captivating shine of chrome nails isn’t magic; it’s science! Here’s a breakdown of the different types of chrome finishes available to achieve your desired level of shine:
a. Chrome Nail Polish:
For the convenience-seeker, traditional chrome nail polishes offer a metallic, chrome-like finish. These polishes are readily available in various shades and apply similarly to regular nail polishes. However, their shine intensity might be less pronounced compared to other options.
b. Chrome Nail Powder:
Craving a more intense, mirror-like effect? Chrome nail powders deliver a dazzling chrome finish with unrivaled shine. Applied over a base coat, these finely milled powders buff to a high-shine metallic perfection. While offering a stunning result, chrome powders require additional tools and practice for a flawless application.
c. Mirror Chrome Gel Polish:
Imagine a liquid chrome dream! Mirror chrome gel polishes offer the ultimate in shine and durability. Formulated for an ultra-reflective, mirror-like finish, these gel polishes require a UV lamp for curing. While providing the most durable and intensely reflective chrome finish, gel polish application involves a more complex process and specialized equipment.

Gathering Your Arsenal: Essential Tools for Chrome Nails
Before embarking on your chrome nail journey, ensure you have the necessary tools to achieve a flawless finish. Here’s a comprehensive list:
a. Base Coat:
This forms a protective barrier between your natural nails and the polish or powder, preventing staining and promoting adhesion.
b. Top Coat:
Seal the deal with a top coat to protect your chrome masterpiece from chipping and extend its wear time.
c. Chrome Nail Polish or Powder:
Choose your weapon based on your desired finish and comfort level.
d. Nail Polish Remover:
Inevitably, some cleanup might be necessary. Opt for a gentle, acetone-free remover to avoid drying out your nails.
e. Cotton Swabs:
These trusty tools are essential for cleaning up mistakes and removing excess polish or powder.
f. Nail Buffer (Optional):
For chrome powder application, a nail buffer helps achieve a smooth surface for optimal shine.
g. Applicator Brush (for Powder):
This specialized brush is used to apply chrome powder for a smooth, even distribution.
h. UV Lamp (for Gel Polish):
Curing gel polish requires a UV lamp to activate the polish and achieve its full durability.
i. Latex Liquid (Optional):
Protect your skin from accidental chrome polish or powder stains with a thin layer of latex liquid applied around your nails (peel off after application).
Mastering the Chrome Effect: A Step-by-Step Guide
Now that you’re armed with the knowledge and tools, let’s get down to business! This step-by-step guide will walk you through achieving a flawless chrome manicure using each method: polish, powder, and gel polish.
Preparation is Key:
Before diving into the chrome application, ensure your nails are clean, dry, and free of any oils or residue. Gently push back your cuticles and file your nails to your desired shape.
Here’s where the methods diverge:
Chrome Nail Polish:
Apply Base Coat:
Start with a thin, even layer of base coat and let it dry completely according to the manufacturer’s instructions.
Embrace Thin Coats:
Apply 2-3 thin coats of your chosen chrome polish. Aim for even application and avoid overloading the brush, which can lead to streaking. Allow each coat to dry completely before applying the next.
Seal the Shine:
Once the final coat of chrome polish is dry, apply a generous layer of top coat to seal the color and enhance the shine. Let the top coat dry completely.
Clean Up:
Using a cotton swab dipped in nail polish remover, carefully clean up any polish that may have landed on your skin.
Chrome Nail Powder:
Base Coat Party:
Just like with the polish method, begin with a thin layer of base coat and let it dry thoroughly.
Colored Canvas (Optional):
For a more vibrant chrome effect, consider applying a base coat in a color that complements your chosen chrome powder. Allow the base coat to dry completely.
Buff It Out (Optional):
For a smoother canvas that maximizes the shine potential, lightly buff the surface of your nails with a nail buffer. Be gentle and avoid over-buffing.
Let’s Get Buffing (Powder):
This is where the magic happens! Using the applicator brush, pick up a small amount of chrome powder and gently buff it onto the surface of your nail in a circular motion. Pay attention to the edges and ensure even coverage.
Pro Tip:
Start with a light touch and gradually add more powder to achieve your desired level of shine.
a. Buffing Bliss: Continue buffing the chrome powder onto all your nails until you achieve a high-shine, mirror-like effect.
b. Top Coat Time: Seal the deal with a generous layer of top coat to protect your chrome masterpiece. Don’t forget to cap the free edge of your nails for extra protection. Let the top coat dry completely.
c. Cleaning Crew: As with the polish method, use a cotton swab dipped in nail polish remover to clean up any stray powder on your skin.
Mirror Chrome Gel Polish:
Base Coat Bonanza:
Start with a thin layer of base coat specifically formulated for gel polish and cure it under the UV lamp according to the manufacturer’s instructions.
Color Play (Optional):
Similar to the powder method, you can apply a thin layer of colored gel polish that complements your chosen chrome gel polish. Cure it under the UV lamp as directed.
Chrome Time:
Apply a thin, even layer of your chosen mirror chrome gel polish. Aim for a smooth, opaque application. Cure it under the UV lamp according to the manufacturer’s instructions.
Top Coat Tango (Optional):
While some mirror chrome gel polishes have a built-in top coat, you may choose to apply a thin layer of gel top coat for extra protection and shine. Cure it under the UV lamp as directed.
Cleaning Up Crew:
After curing the final layer, use a cotton swab dipped in nail polish remover (specifically formulated for gel polish) to remove any residue on your skin.
Troubleshooting Tips:
Streaky Polish:
This can be caused by applying overly thick coats. Opt for thin layers and allow each coat to dry completely before applying the next.
Uneven Powder Application:
Apply the powder with a light touch and buff in a circular motion for even coverage.
Maintaining the Chrome Magic: Caring for Your Chrome Nails
Your dazzling chrome manicure deserves proper care to maintain its shine and longevity. Here are some essential tips:
Wear and Tear Warriors:
Protect your chrome nails from daily wear and tear. Opt for gloves when doing household chores like cleaning or gardening to prevent chipping and dulling.
Hydration Heroes:
Moisturize your hands and cuticles regularly to prevent dryness and cracking, which can affect the adherence of your chrome polish or powder.
Beware of Harsh Chemicals:
Limit exposure of your chrome nails to harsh chemicals like chlorine or strong detergents, which can damage the polish or powder.
Touch-Up Time:
As with any manicure, minor chipping is inevitable. Use a fine-tipped nail art brush and matching chrome polish to address small chips for a flawless look in between full manicures.
Removing Chrome Nails:
Removing chrome nails requires a slightly different approach compared to regular polish. Here’s what you need to do:
Soak it Up:
Soak your nails in a bowl filled with acetone-based nail polish remover for 10-15 minutes. This will soften the polish or powder for easier removal.
Gentle Does It:
Once the polish or powder is softened, gently scrape it off your nails using an orangewood stick or cuticle pusher. Avoid using metal tools that can damage your natural nails.
Buff and Moisturize:
After removing the chrome finish, gently buff your nails to remove any residue. Finish by applying a nourishing hand cream to replenish moisture.
Conclusion:
The world of chrome nails offers endless possibilities for a statement-making manicure. This comprehensive guide has equipped you with the knowledge and tools to achieve a flawless chrome finish at home, explore a variety of dazzling designs, and maintain the shine of your masterpiece.
Embrace your inner nail artist, experiment with different techniques, and let your chrome nails shine bright!


