Alcohol ink art has quickly become a favorite among crafters, artists, and hobbyists for its mesmerizing, fluid, and vibrant results. Whether you’re a beginner or a seasoned artist, understanding the essential supplies for creating alcohol ink art is key to mastering this dynamic medium. In this comprehensive guide, we’ll cover everything you need to start creating stunning alcohol ink art, from the basic tools to advanced supplies.
1. What is Alcohol Ink Art?
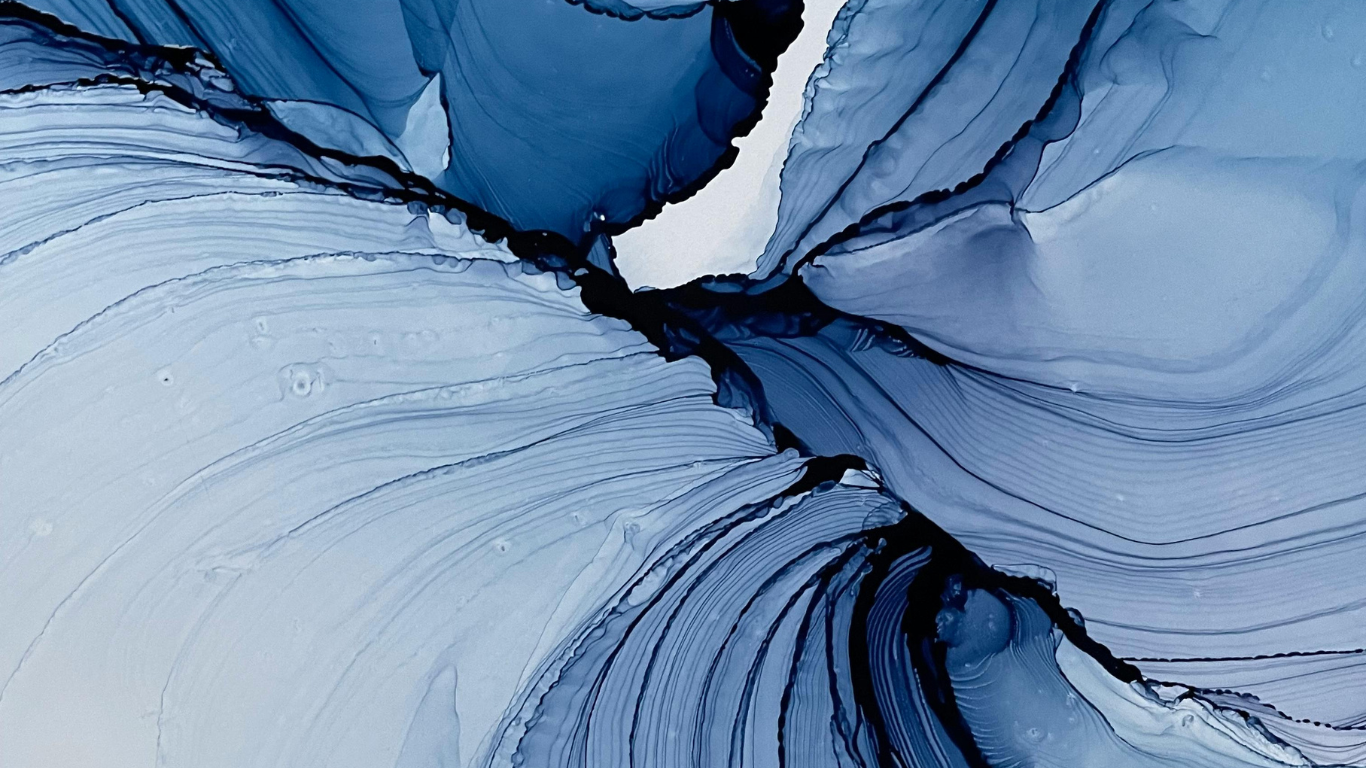
Alcohol ink art is a fluid painting technique that uses alcohol-based dyes on non-porous surfaces. The beauty of alcohol ink art lies in its unpredictability, as the ink moves and blends organically, creating dynamic, abstract designs. Artists use various techniques to manipulate the ink, including blowing air, tilting the surface, or using blending solutions to achieve the desired effects.
2. Essential Supplies for Alcohol Ink Art
To create alcohol ink art, you’ll need a set of specific materials designed to work with this medium. Let’s explore the essential supplies needed to get started.
a. Alcohol Inks
Alcohol inks are the foundation of this art form. These inks are highly pigmented, fast-drying, and alcohol-based, allowing them to blend seamlessly on non-porous surfaces.
Types of Alcohol Inks:
- Dye-based alcohol inks: These are the most commonly used and come in a wide range of vibrant colors.
- Pigment-based alcohol inks: These inks offer more opacity and are often used for details and highlights.
Popular Alcohol Ink Brands:
- Ranger Tim Holtz Alcohol Inks: Known for their brilliant colors and versatility, these inks are a favorite among artists.
- Jacquard Piñata Colors: High-quality and richly pigmented, Jacquard inks are perfect for bold, vivid results.
- Copic Various Inks: Originally designed for refilling markers, these alcohol inks can also be used in alcohol ink art due to their blendability and color range.
b. Alcohol Blending Solution and Isopropyl Alcohol
Alcohol blending solution and isopropyl alcohol are crucial for manipulating alcohol inks and creating special effects.
- Alcohol Blending Solution: This solution is specifically designed to dilute alcohol inks and create subtle gradients and soft blends. It also helps in removing ink from surfaces if needed.
- Isopropyl Alcohol: Available in different concentrations (91%, 99%), isopropyl alcohol is used to thin inks, clean up tools, and create lighter effects. Many artists prefer 99% for its faster evaporation rate.
c. Substrates (Surfaces)
One of the best aspects of alcohol ink art is its ability to be used on a variety of non-porous surfaces. Here are some of the most common substrates for alcohol ink:
- Yupo Paper: This synthetic, water-resistant paper is a go-to for alcohol ink art due to its smooth surface. It allows inks to flow freely and blend effortlessly.
- Ceramic Tiles: Affordable and widely available, ceramic tiles provide a durable surface for alcohol ink artwork. They are perfect for functional pieces like coasters or wall art.
- Glass: Alcohol inks work beautifully on glass surfaces, allowing for vibrant, translucent designs.
- Metal: Metals like aluminum or stainless steel can also be used for alcohol ink projects, especially if you want a glossy, reflective background.
- Plastics and Acetate Sheets: These are used for more experimental techniques and allow artists to create durable, long-lasting artwork.
d. Applicators and Brushes
While alcohol ink art typically doesn’t require traditional brushes, there are several tools that can help you apply and manipulate the ink.
- Blending Tools: These include felt or foam applicators designed to apply and blend inks on surfaces.
- Brushes: Synthetic brushes or paintbrushes can be used to create fine details or apply alcohol blending solutions. Choose brushes that won’t absorb too much ink.
- Air Blowers: Handheld air blowers or airbrushes can be used to move the ink around the surface and create wispy effects.
- Straws: A simple straw can also be used to blow and manipulate the ink for more organic designs.
e. Protective Gear
Alcohol ink art involves working with chemicals and dyes, so it’s important to protect yourself and your workspace.
- Gloves: Disposable gloves will protect your hands from staining and exposure to chemicals.
- Mask or Respirator: Alcohol inks release fumes, so it’s essential to work in a well-ventilated area and wear a mask to avoid inhaling fumes.
- Apron or Old Clothing: Alcohol inks can be very difficult to remove from fabrics, so be sure to wear protective clothing.
3. Optional but Helpful Supplies
For more advanced techniques and projects, there are additional tools and materials that can enhance your alcohol ink art.
Heat Tools
A heat tool, such as an embossing gun or a hairdryer, can help to dry alcohol inks quickly and create texture by manipulating the flow of ink.
Stencils and Masks
Using stencils and masks can add structure and design to your alcohol ink artwork. They allow for controlled application and can be used to create patterns, shapes, and layered effects.
Sealing and Finishing Products
To protect your alcohol ink art, especially on functional surfaces like coasters, sealing your work is essential.
- Varnish: Apply a UV-resistant varnish or spray to prevent fading and damage from exposure to light.
- Resin: A resin coating provides a glossy, durable finish that’s ideal for preserving the vibrancy of your alcohol ink art.
4. Setting Up Your Workspace
Creating alcohol ink art can be messy, so it’s important to set up a workspace that’s easy to clean and ventilated properly. Here are some tips:
- Work in a ventilated area: Alcohol ink fumes can be strong, so open windows or work in a space with good airflow.
- Use a drop cloth or plastic sheet: Protect your workspace from ink spills by covering surfaces with a non-porous material.
- Organize your supplies: Have your inks, blending solutions, applicators, and cleaning supplies ready for easy access while you work.
5. Choosing the Right Inks and Colors
The type and color of alcohol ink you choose will greatly impact your final artwork. For beginners, starting with a basic set of primary colors (red, blue, yellow) and expanding to more specific shades later is a great approach. Many alcohol ink brands offer sets with complementary colors, making it easier to achieve harmonious blends.
6. How to Begin with Alcohol Ink Art: A Step-by-Step Guide
Starting your alcohol ink art journey is simple. Here’s a basic step-by-step guide:
- Prepare Your Workspace: Ensure you have protective gear and are working in a well-ventilated area. Cover your surfaces to prevent stains.
- Choose Your Surface: Select a non-porous surface like Yupo paper or ceramic tile.
- Apply Inks: Drip or pour a few drops of alcohol ink onto your surface. Watch how it spreads and blends naturally.
- Manipulate the Ink: Use an air blower, straw, or blending solution to move the ink around and create interesting effects.
- Let Dry: Allow the ink to dry completely before adding additional layers or sealing your work.
- Seal Your Artwork: Apply a varnish or resin to protect your final piece.
7. Advanced Techniques for Alcohol Ink Art
As you become more familiar with alcohol ink, you can experiment with advanced techniques such as:
- Layering colors: Build up depth by allowing one layer to dry before adding another.
- Dripping alcohol onto dry ink: This creates a textured, spotted effect.
- Using metallic inks: Add a touch of shimmer with metallic alcohol inks like gold, silver, or copper.
- Adding texture with salt: Sprinkling salt on wet alcohol ink can produce interesting patterns and textures.
8. Tips for Mastering Alcohol Ink Art
- Practice patience: Alcohol ink art is as much about observation as it is about action. Watch how the inks flow and interact, and take your time to build up your layers.
- Less is more: A small amount of ink can go a long way. Experiment with less ink to achieve softer blends.
- Use isopropyl alcohol to erase mistakes: Isopropyl alcohol can remove or lighten areas of your artwork, allowing you to fix errors or start fresh.
9. Common Mistakes to Avoid
- Overworking the ink: Overmanipulating the ink can muddy your colors and reduce the vibrancy of your piece.
- Using porous surfaces: Alcohol inks work best on non-porous surfaces, so avoid traditional paper or canvas unless properly primed.
- Not sealing your work: Alcohol inks are prone to fading over time, especially in sunlight. Make sure to seal your finished artwork to protect it.
Conclusion: Let Your Creativity Flow
Alcohol ink art offers endless possibilities for creativity and expression. With the right supplies and techniques, you can create stunning, vibrant pieces that captivate the eye. Whether you’re a beginner or an experienced artist, experimenting with alcohol inks can lead to beautiful and unique results. So, gather your supplies, set up your workspace, and let your creativity flow.
FAQs
1. What surfaces are best for alcohol ink art?
Alcohol ink works best on non-porous surfaces like Yupo paper, ceramic tiles, glass, metal, and acetate sheets. These surfaces allow the ink to flow freely and blend beautifully.
2. Can I use regular paper for alcohol ink art?
No, regular paper is porous and will absorb the ink, which can dull the colors and ruin the flow. Non-porous surfaces like Yupo paper or ceramic tiles are ideal for alcohol ink art.
3. What is the purpose of isopropyl alcohol in alcohol ink art?
Isopropyl alcohol helps thin the inks, clean tools, and create unique blending effects. It also evaporates quickly, allowing the ink to dry fast and enabling artists to layer their work easily.
4. How do I seal my alcohol ink art?
You can seal alcohol ink art with UV-resistant varnish or spray sealers. For a glossy, durable finish, some artists prefer using resin, especially for coasters or functional pieces.
5. Do I need a special workspace for alcohol ink art?
Yes, because alcohol ink art can be messy and produces fumes, it’s recommended to work in a well-ventilated area and cover your workspace with a non-porous surface protector. Wearing gloves and a mask is also advisable.
6. What’s the difference between alcohol blending solution and isopropyl alcohol?
Alcohol blending solution is designed specifically to blend alcohol inks and slow down the drying time, allowing for softer transitions and mixing. Isopropyl alcohol is used for thinning inks and cleaning tools but evaporates faster than blending solution.
7. What are the best brands of alcohol inks?
Popular brands include Ranger Tim Holtz Alcohol Inks, Jacquard Piñata Colors, and Copic Various Inks. These are known for their vibrant colors and versatility in alcohol ink art.
8. How do I create texture in alcohol ink art?
To create texture, you can use techniques like blowing air on the ink with a straw, adding salt to wet ink, or applying heat tools to move the ink and create unique patterns.
9. Are alcohol inks permanent?
Yes, alcohol inks are permanent once dry. However, they are susceptible to fading if exposed to direct sunlight, so sealing your artwork with UV-resistant varnish is recommended.
10. Can I use alcohol ink on fabric?
Alcohol ink isn’t typically used on fabrics because it requires a non-porous surface to work properly. However, you can apply alcohol ink to certain fabrics that have been treated or sealed, but the results will differ from traditional surfaces.